Creating an Agreement

This guide will walk you through creating an Agreement on WireMe. Let's begin.
Communication
Before an Agreement is created it is vital that you communicate with the customer or client and work out the payment and agreement terms.
For an Airbnb host this might mean conferring with the guest to work out when they're staying, how much they're paying and what they can expect from your accommodation. For a software developer freelancer this might mean meeting with the client to work out project terms, deadlines and the cost of your services.
You don't need a lawyer to work out these agreement terms but they should be in writing so that expectations are clear and can be referred to at a later time.
Once this is completed, WireMe's Agreement creation process can begin.
The Creation Process
The first step in the Agreement process is creating the Agreement. WireMe makes this process easy for you with our creation assistant. The assistant is a wizard which asks you a series of questions to help you craft the agreement. You don't need a crypto wallet to go through this process but you will need one to set the agreement live.
Here we will go the creation assistant and explain what is required at each step.
Nature of the Agreement
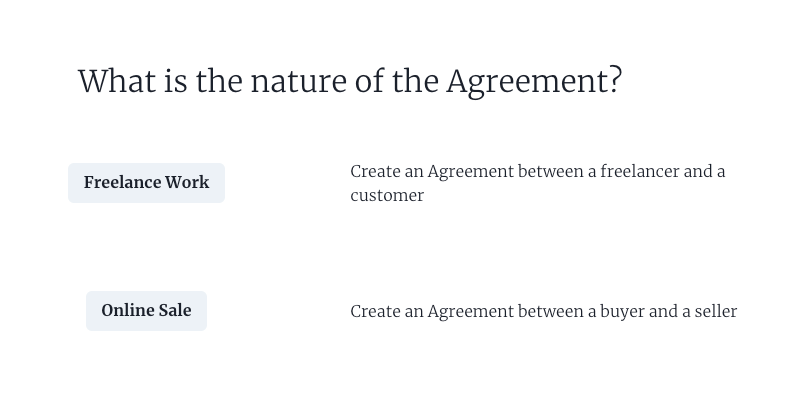
Here you select the kind of Agreement you're creating. If you're someone selling your services such as a web designer select "Freelance Work". For a more generic transaction between a buyer and a seller (usually where goods are being sold) select "Online Sale".
For this Agreement we will select "Online Sale"
Buyer or Seller
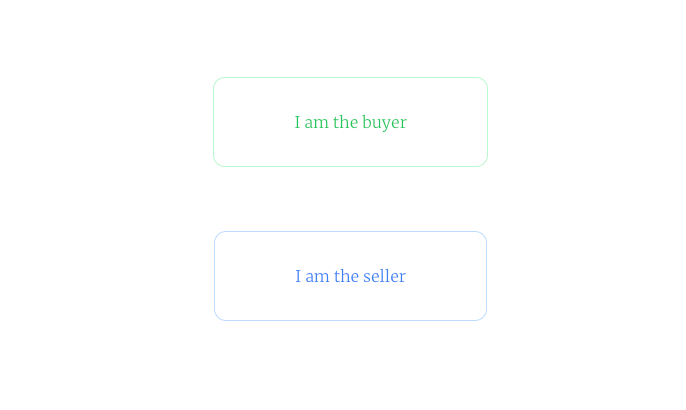
Here you select what your role is in this Agreement. Since I picked "Online Sale" on the previous step I can either select "I am the buyer" or "I am the seller". The buyer is sending funds (and receiving goods) and the seller is receiving funds (and sending goods)
For this Agreement we will select "I am the seller"
Setting the other party
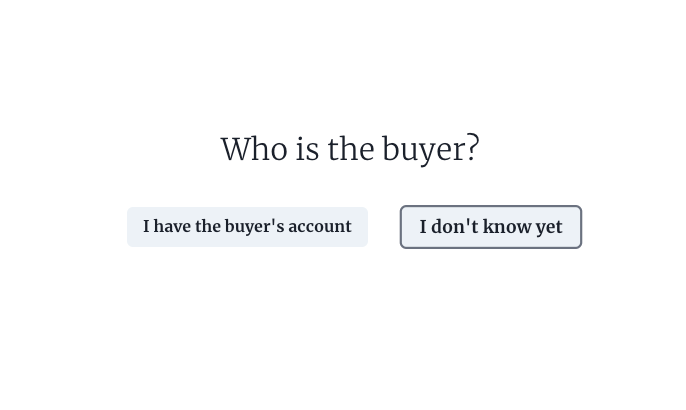
Since I specified that I was the seller, the next step will ask "Who is the buyer?". If you know the buyer account's public address you can specify that on this step. If you don't know that's totally fine.
Don't know what a account address is? See our guide
For this guide I will select "I don't know yet". This will be set after the Agreement is created.
Network
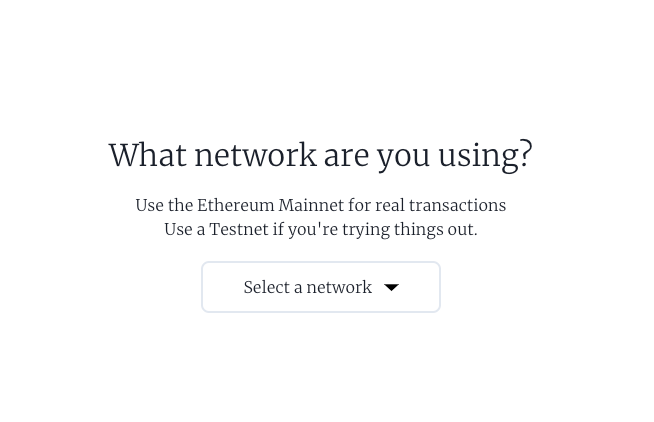
The next step is selecting the network where your Agreement will reside. At the end of this creation process, when you deploy your Agreement, this is the network it will be deployed to.
For the purposes of this guide we will choose the Sepolia Testnet.
Not sure what network to choose? Check out our guide
Payment Amount
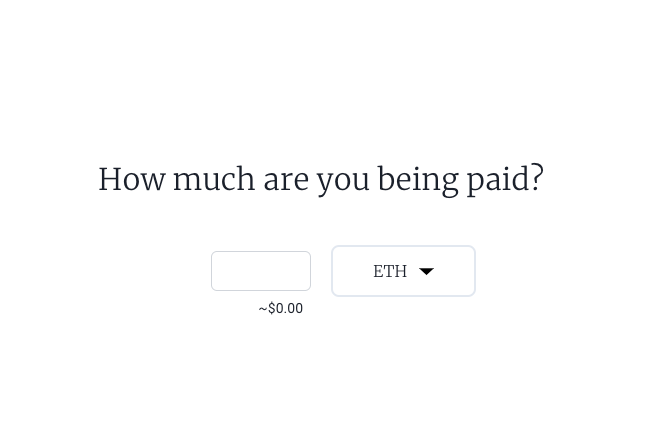
Since we have chosen to be the seller in this Agreement, the next step asks how much we'd like to be paid. At the conclusion of this Agreement, when it is completed, this is the amount that will be transferred from buyer to seller.
For this guide I will enter "0.15" and leave the currency units as ETH (Ethereum).
Staking
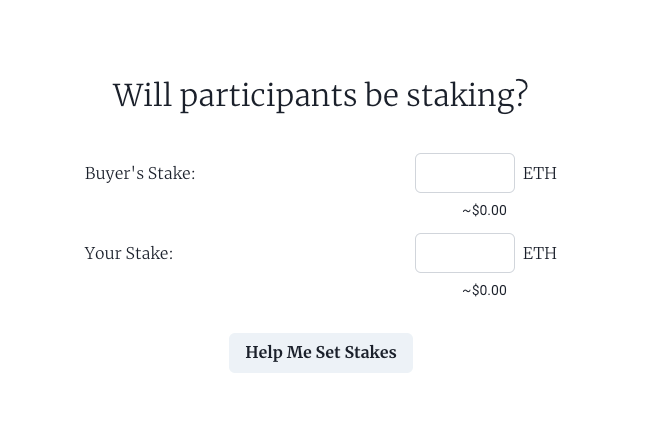
Stakes are an optional security measure that is offered within an Agreement. A stake is essentially a deposit that either participant can be required to put down before the Agreement is locked. The concept is the same as a security deposit that you put down on an apartment when you sign a lease. It requires the participants to put some "skin in the game" to ensure that they will act in a trustworthy manner.
Stakes should be set in accordance to how much each party trusts each other. If both parties have a proven track record the deposit might be small. However if it is a potentially risky transaction the deposit should be set higher.
As a general rule of thumb the stakes should be set between 5% and 15% of the amount transacted.
For this transaction we will set the stakes to 5% of the total amount for both the buyer and seller (0.0075 ETH). You don't need to use the same stake amount for both parties. For example, if one party is a reputable seller and the buyer is unknown, the seller could have a much lower stake than the buyer.
Time Locks
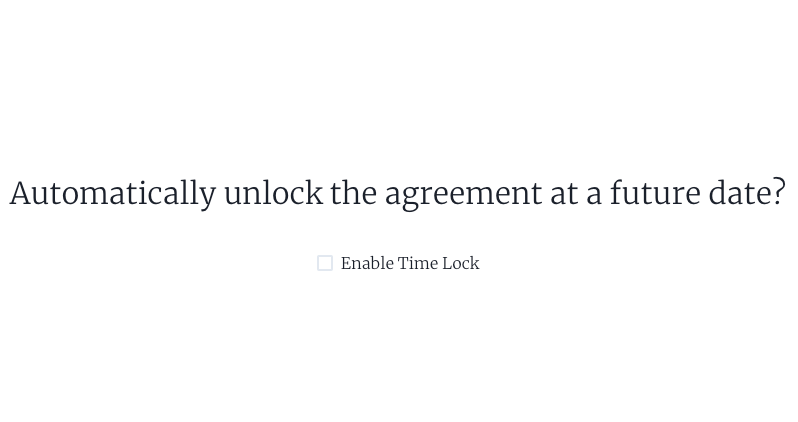
Time locks are another optional safety measure that can be used in an Agreement. Setting a time lock will unlock the Agreement escrow at a certain date and time in the future. A time lock has a few configuration options you can see below.
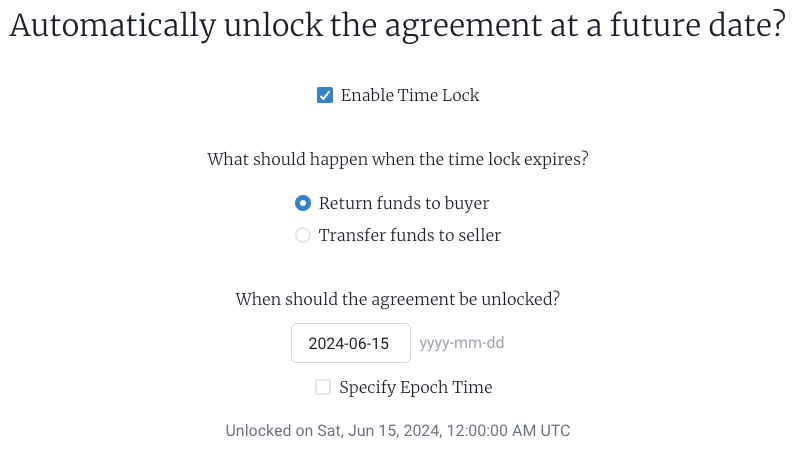
The first question asks what should happen when the time lock expires. This can either be set to release the funds (the 0.15 ETH we set as the amount earlier) to the buyer or to the seller.
The next question asks for when the agreement should be unlocked. This can be set to whatever future date you'd like. When this date is reached the outcome you selected previously can be triggered by either the buyer or seller.
For this Agreement we will enable the time lock with the configuration you see above.
Why set a Time Lock?
Time locks are to prevent participants from simply walking away from the Agreement once it begins. For example, setting the time lock to "Transfer funds to seller" in 3 months time would mean that regardless of what happens during the course of business, the seller is guaranteed to receive the funds at that set time. This prevents buyers from making false claims about the seller's goods or services.
On the flip side setting the time lock to "Transfer funds to buyer" in 3 months would entice buyers to join the Agreement knowing that it is a risk free transaction. If the seller fails to hold up their end of the bargain the buyer can be assured that they will receive their money back at that time.
At the end of the day, how you configure these time locks should be part of the negotiating process between both parties. And it's entirely up to you if you want to use it or not.
Confirmation
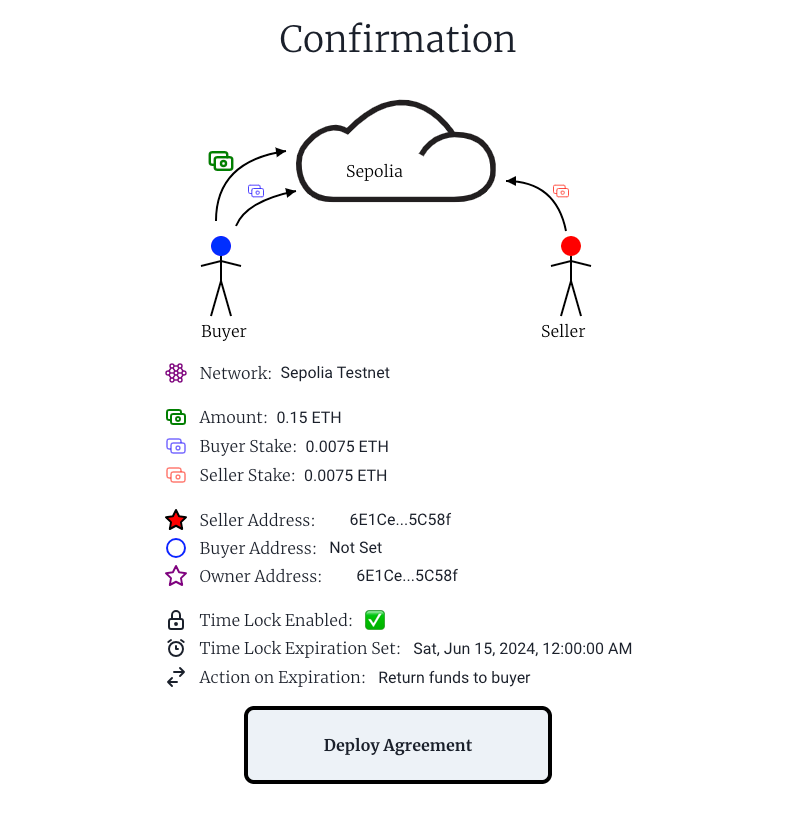
The last step of the process is the confirmation page. It shows you everything you have set during the Agreement creation process.
After verifying the information on the page hit "Deploy Agreement". This will open up a new window with your MetaMask wallet to confirm the transaction. Once confirmed your MetaMask wallet will send a transaction to the network you've specified and creates the Agreement on its blockchain! Congratulations on creating your first Agreement 🥳